Photographing Vintage Items
Whether you are photographing vintage items for fun, practice, or to list them on a website to sell or show your design expertise, there are a few how-to items that you’ll need to know. To create a truly vintage vibe you’ll need to create an ambiance that involves the feel of vintage photos. That feel of vignettes, low contrast, reduced saturations, colored tints, and noise; the feel of a blown-out old photo and the look that brings to mind the era that you are going for. Photographing vintage is definitely an art form, and regardless of why you are photographing a certain item or subject, you need to create the exact vibe and scene that you want to convey.
In this how-to guide we’ll go over some steps that you’ll want to take to create the photo of your dream as well as the equipment you need to create a vintage work of art. Remember, photography is as much about creativity as it is about skill, when going over this guide, keep in mind that a lot of these are personal preferences and suggestions, you and your creativity is just as important as the logistics provided within.
What You’ll Need to Take Photos of Vintage Items
Photographing vintage items is kind of an art form depending on what you’re photographing them for, regardless, there is not much that you’ll need. If you are photographing single items for a website, you’ll need a backdrop so that there aren’t any distractions. However, if you’re photographing a scene or creating a specific vibe, make sure to have other vintage items on hand. For example, if you’re photographing a great vintage mug grab yourself some other vintage kitchen items and set the scene; for this, I would use a Kitchen Aid Stand Mixer in the background and maybe some vintage cookbooks or silverware to create the vibe I am going for. That being said, the possibilities are endless, so be sure to show your creativity.
When photographing vintage items, it’s all about what you want to convey, so sit with your subject and study its history – there is always a story to be told when photographing vintage items, so don’t be afraid to be creative and take risks with your photography. A good starting point is looking up that item and looking at how it is portrayed in its time period. Are you photographing a gorgeous, Pyrex mug? Then look up that time period and the mug that you’re choosing and look at old ads. Or, if you’re photographing a subject in a vintage dress, set the scene for your subject; a 70’s vibe may mean red and orange hues, a picnic outside, etc.
The scene that you set is just as important as the photo itself, so grab a pair of bell bottoms and a gingham scarf and let’s get to the good stuff.
Camera Equipment
To photograph vintage items, you honestly don’t need much but let’s go over some suggestions to get you started.
What Kind of Camera Do You Need?
Use whatever kind of camera you have! There is no need to buy anything new or fancy, most vintage shots I have taken for my website were taken on my iPhone using a lens attachment. However, I do recommend shooting vintage with vintage, for example, if you have a simple vintage point and shoot with a 55mm lens, that would be great! However, if you are a new photographer, shooting with a digital camera is an excellent choice because you’ll be able to go over your shots, take more shots, and switch things around to get the shot you want (more on that later). Remember, there are ways to edit your photos to make them look like they were taken with a manual, vintage camera, so no worries about what kind of camera you use, use what you have!
Your lens does not need to be larger than 55mm, this photo is not so much about your lens length, it is more so about your ability to focus on your subject. Thus, don’t worry so much about what kind of lens you need or if you need anything fancy – you don’t. Again, your iPhone is fine for this project.
Do You Need A Tripod?
A tripod is not necessary at all but it can be helpful to reduce shake, this option is completely up to you. Having a desktop tripod is a cheap and easy way to use a tripod, that being said it is not necessary and you may want to take your photo with your camera in hand (suggested).
Floor tripods of course are more expensive and are not needed for this project, in fact with a shorter lens (55mm) it will only take away from the shot.
In my own humble opinion, just leave a tripod out of this. Shooting by hand will allow you to get a more creative shot with different angles and viewpoints.
Creating the Shot
Getting the shot is going to mean focusing on your item and having everything else kind of fade into the back (this doesn’t mean that props don’t matter). You do not need anything larger than a 50mm lens if you are shooting with a traditional camera and if you are shooting with your iPhone, just make sure to focus on your subject. To do this you will need to use Portrait Mode because it already creates a vignette for you without you having to do anything.
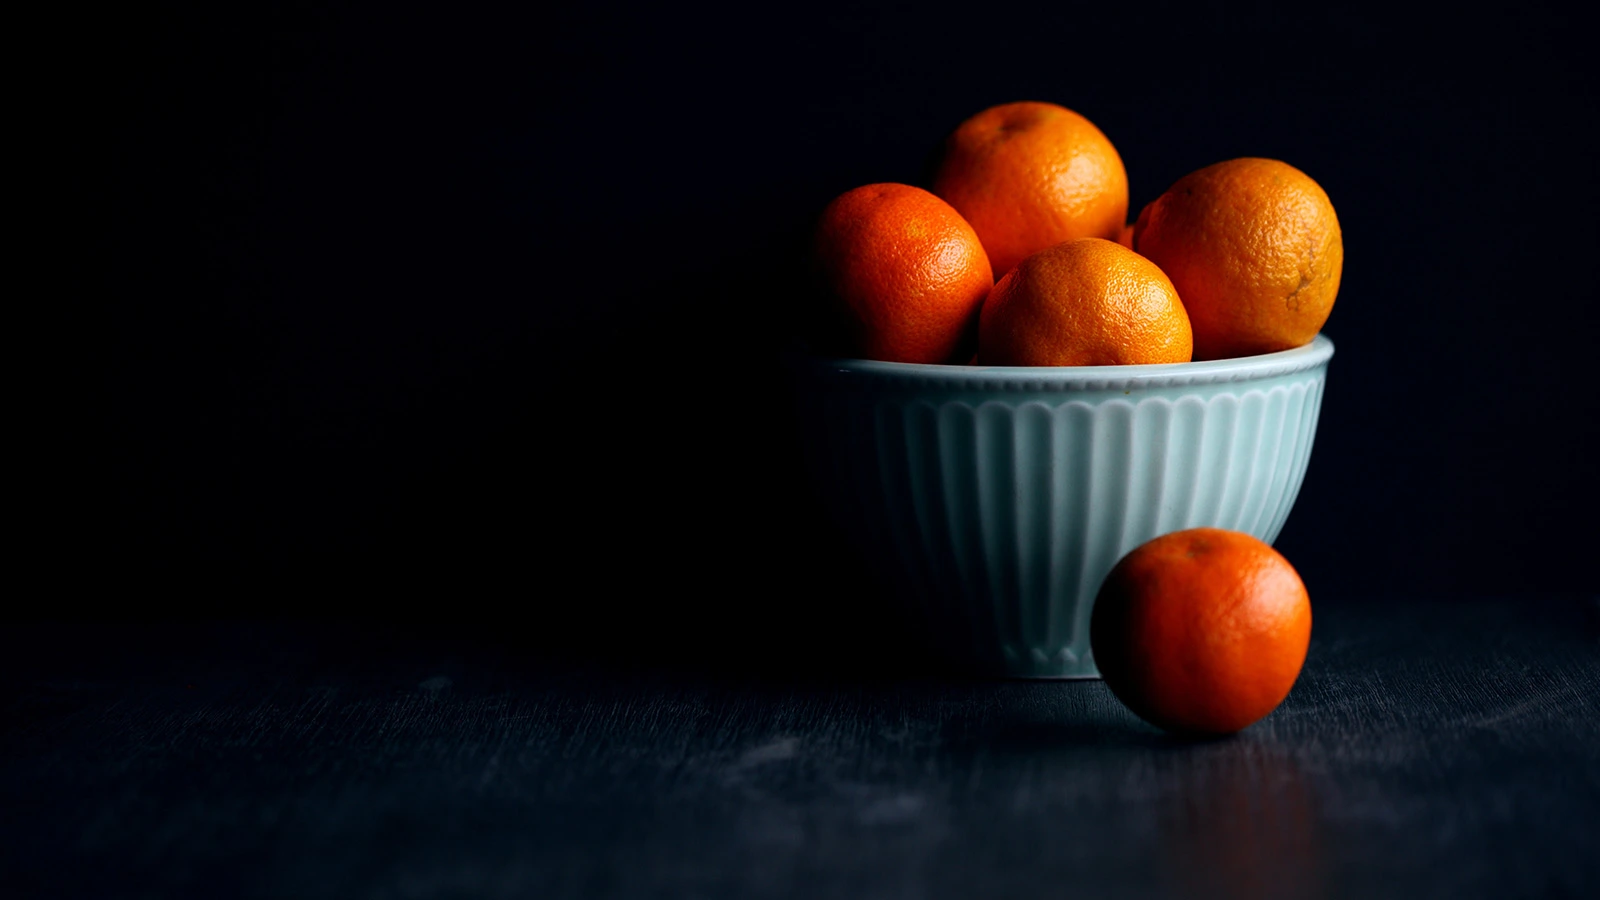
Set up your props and create a scene; think about the vibe you are going for, if you are shooting macabre make sure to have a black background and focus only on your subject, if you are shooting something much more upbeat be sure to set up a fun, vintage scene, that is set in the correct period of time. Seriously, don’t shoot 70’s vintage with a 50’s vintage feel, it’s going to look all wrong. You want to make sure that the vibe matches your subject, so be creative with this and be sure to show your photography style. The possibilities here are endless, and this is where you get to fully showcase the way that you take photos.
Camera Settings
Once you have set your scene you can begin to set up your camera for shooting. Here is a handy guide that will have your light and settings ready for you to be able to take the photos. Save this and refer back to it in the future.
Indoor Camera Settings
- 1/60 (minimum)
- f/4 (at your lowest)
- ISO 800 (for newer cameras)
- Av (A) (mode)
Outdoor Camera Settings
- 1/60 (minimum, Av (A) mode)
- f/2.8 (to f/5.6)
- ISO 200
- Set up your scene to make sure you are not backlit (the sun is facing your items)
Manual Mode
There is a good chance that the light meter in your camera won’t do a very good job in picking its own settings. Vintage items can be discolored, glossy, and the closer you get the more confused the camera will be about any background showing through and lighting situations. The following sections will talk through how to pick the right settings for this kind of shoot, but if you aren’t familiar or comfortable with your camera’s manual mode I put together an easy to follow full guide on shooting in manual mode that you may want to take a look at before you proceed.
If you are using a tripod be sure to set that up on solid, steady ground to prevent shake. If you are shooting by hand (recommended) skip this step.
Taking Photos of Vintage Items
Now that you have everything ready it is time to take your photos! Begin by testing the shot to make sure that your light and settings are correct and then move from there. In between shots be sure to reset the scene and try different things. For example, did the photo not turn out the way you wanted it to? Then, switch some things around and try again. Is the light too bright? Change the angle that you’re shooting at (just make sure not to cast a shadow). There are so many things that you can change and retry while taking photos, especially digital photos, your options are truly endless.
Don’t simply take one or two photos; while switching things around and taking photos of your items, especially for a website or Etsy, or even eBay, when photographing vintage items (or anything for that matter), be sure to take at least five photos (minimum) so that you can create and get the shot that you are going for. You may think your first shot is perfect, but once you can look back and choose between a few you will begin to realize that the first shot is often not the one you pick for final editing. I almost never choose my first photo.
Documentation or Style
An important consideration is whether you are primarily trying to capture the style of the object, or to document it for posterity. This article primarily deals with the former, if you are interested in the latter you might want to check out my guide to photographing old photos
Conclusion
Now that you have read through this article be sure to save it and look back on it in the future. However, you are now ready to get the vintage photos of your dreams! Go out, explore, use some ideas and inspiration from this how-to, but be sure to show your creativity and add some ideas of your own.
You could create vintage looking photos with Afterlight by using their Polaroid filters! Or, you could take LOMO photos of your own – the possibilities are endless. Have fun with it. There are also so many options to buy new cameras that are meant to produce a vintage look and feel for your photography, so look at your options and design your dream photographs from there.


