Setting up a Home Photography Studio
If you are a passionate food, product or still life photographer with the ambition to get noticed, then setting up a home studio is a step in the right direction. With the right approach you can turn most any location in to a workable studio, and what’s better than shooting in the comfort of your own home?
Instead of jumping in to discussing equipment right off the bat, let’s take this in order of how you will approach an actual shoot, starting with the subject.
Preparation for Your Photo Shoot
Don’t go into a Photo Shoot Cold, Find Inspiration First!
There are countless still life, food and product photographs you can peruse online. So before you start, try an image search for subjects similar to what you are thinking about shooting. From there you can play around and even branch out, focusing on any subject with the mood you are looking for. Pay attention to backgrounds, where the light falls, whether it is high key or low key lighting, whether the shadows are soft or deep and dark. You don’t need to know what kind of setup these photographers used, you aren’t trying to perfectly replicate their look. It will simply give you a general goal to aim towards, which when you are looking at images on the back of your camera, your monitor or a contact sheet, will help guide your choices.
Arrange the Scene
This is a good time to stop and really think about what you want to convey with your image, before you involve an actual camera. Have a close look at your subject’s attributes, whether it is a beautiful piece of art, a delicious plate of food, or an eye catching still life arrangement.
Every subject has something unique in them which you, as a photographer, will want to highlight. Start to consider how this might effect how you arrange things, what you put closest to the lens, what will be furthest, how you might position the camera, what you want light falling on, what you might want to be sharply in focus to draw attention and what you might want to be softly fading out of focus to not distract. Before you start placing the subjects, let’s stop to consider the foundation.
Tabletop
A tabletop is a classic platform for capturing still life, product or food shots. The great part is that it doesn’t require buying something new. You can create an excellent tabletop set up in your home studio using some simple materials.
You will need a table of course. Before you place your subject on it you will need to decide if you want the surface of the table to be part of the photo. If not you can either choose another surface, such as a table cloth, a wood plank, flooring sample, etc..
Now you can begin to arrange the elements of your subject on your table. Try things out, place items one at a time and move them around. Just remember to make sure you leave room in the center of the space for your primary subject. This does not mean the subject will need to be in the center of the picture, but if it is too close to the edge of the table, that will likely show up in the frame. If when looking through the viewfinder you have room on the side and bottom of the frame then you will have more latitude with composition. This is also true of above if a backdrop will be used in your setup.
Next, make sure you arrange any additional elements with a sense of balance in relation to the primary subject. Using a balanced symmetry is one approach with the benefit of leading a viewers eye to the middle, such as with a vase of flowers or fruit arrangement. Alternatively consider asymmetric balance, which is when your image has a sense of harmony and flow regardless of whether the elements are symmetrically arranged or not, and the primary subject blends more in to the context of its surroundings.
Background
There are some common tropes in photography; a still life is set against a draped velvet cloth, a food photos shot downward eliminating the background, and a product photos against a white background.
Experiment! While velvet backdrops and white backgrounds work for certain types of looks really well, keep in mind there is always scope for experimentation with others. White backgrounds may make your shots appear consistent and clean, but darker color backgrounds add a dash of uniqueness. So don’t hesitate to go bold when it comes to backgrounds – especially if it complements the product, food, or work of art!
Choosing the Right Lighting for Still Life Photography
Natural Lighting
A window on the north side of your home will provide a gentle, even lighting throughout the day. A southern window will be the next most consistent, whereas east or west facing windows will have direct sunlight streaming through in either the morning or the evening.
Another consideration if you are planning to use natural light, is that you will be subject to weather conditions, in terms of how much light is coming through the window. On a sunny day it may be a lot of light, and that light may be heavily directional. On an overcast day the light will be more evenly dispersed, but with much less intensity. You can of course account for these things. For example, in the case of directional light, you may require a diffusor and reflector to soften the light as well as fill shadows.
Overall, window light looks natural and can be beautiful, but you need to be able to position your subject near a window which may be difficult for several reasons including how your home is set up, and whether you can position the camera and backdrop to good effect. With window light you will also need to spend time on every shoot adjusting for the conditions, which of course may change from moment to moment.
Artificial lighting
Artificial light on the other hand is always perfectly controlled and consistent. The downside is it takes much more work to make it look even remotely natural. That may not be your goal, but either way controlling light is a skill set that takes time and experimentation to get right. Your artificial light choices include strobes (or flashes) and continuous light sources.
Photographers tend to prefer using flash, as it is extremely powerful and affordable. Videographers prefer continuous lighting (for obvious reasons), but even as a photographer I personally also prefer continuous light because it is far easier to visualize how things will look as you set up. It dramatically reduces the experimentation time. And since most still life subjects are well… still, shutter speed tends to not matter much, and slowing your shutter speed is a great way to account for the diminished output of continuous lights.
Lighting Modifiers
For artificial lighting you may want to have a diffuser and a reflector. You can certainly purchase these, but if you happen to have sheer white curtains anyway, they make a great diffusion material, and any white piece of paper can work in a pinch as a reflector. It may be more tricky to find ways to support them than it actually is to find something around the house that will reflect light.
If you need a diffuser directly in front of an artificial light, a white sheet or two may be enough, but a soft-box and umbrella for your flash are often more effective and easy to work with. A reflector may work well enough for fill light, but a second and perhaps third light source can be useful so you have a key light, fill light and potentially back light.
The more light sources you use the more you run the risk of it looking incredibly unnatural, so be sure to apply some subtlety and try various settings and positions. Getting the right look is all about experimentation, don’t get down on yourself if it doesn’t come right away.
Setting the Mood with Lighting
Lighting plays an important role in setting the mood of a photograph. While a single focus light almost always works wonders, there will be certain subjects that will demand more than just that. In such cases, you need to opt for different types of lighting equipment and techniques.
Consider whether you want a high key or low key image. A high key image has a lot of brightness. It allows for things to fade together and look beautiful. Low key images have darker colors and tones, which can look richer and will add depth to your shots.
A simple setup of key light, fill light, and backlight is more than enough to get you started. Let’s understand these lighting terms. The key light is the primary light source that you use to focus on your subject. Ideally, this light is placed in front, or often, slightly to the side of the subject. Meanwhile, the fill light is the supplementary light you use to lighten the appearance of shadows. It is generally placed at a 45 degree angle to the subject relative to the camera. Finally a back light is a light that sits behind the subject that has the effect of separating a subject from the background. Back lights should be noticeable yet subtle so that your subject gets a lovely three dimensional effect. Sometimes this is an effect you want, sometimes it is not.
Equipment
With the scene set, and lit, it’s time to get in to the behind the scenes equipment.
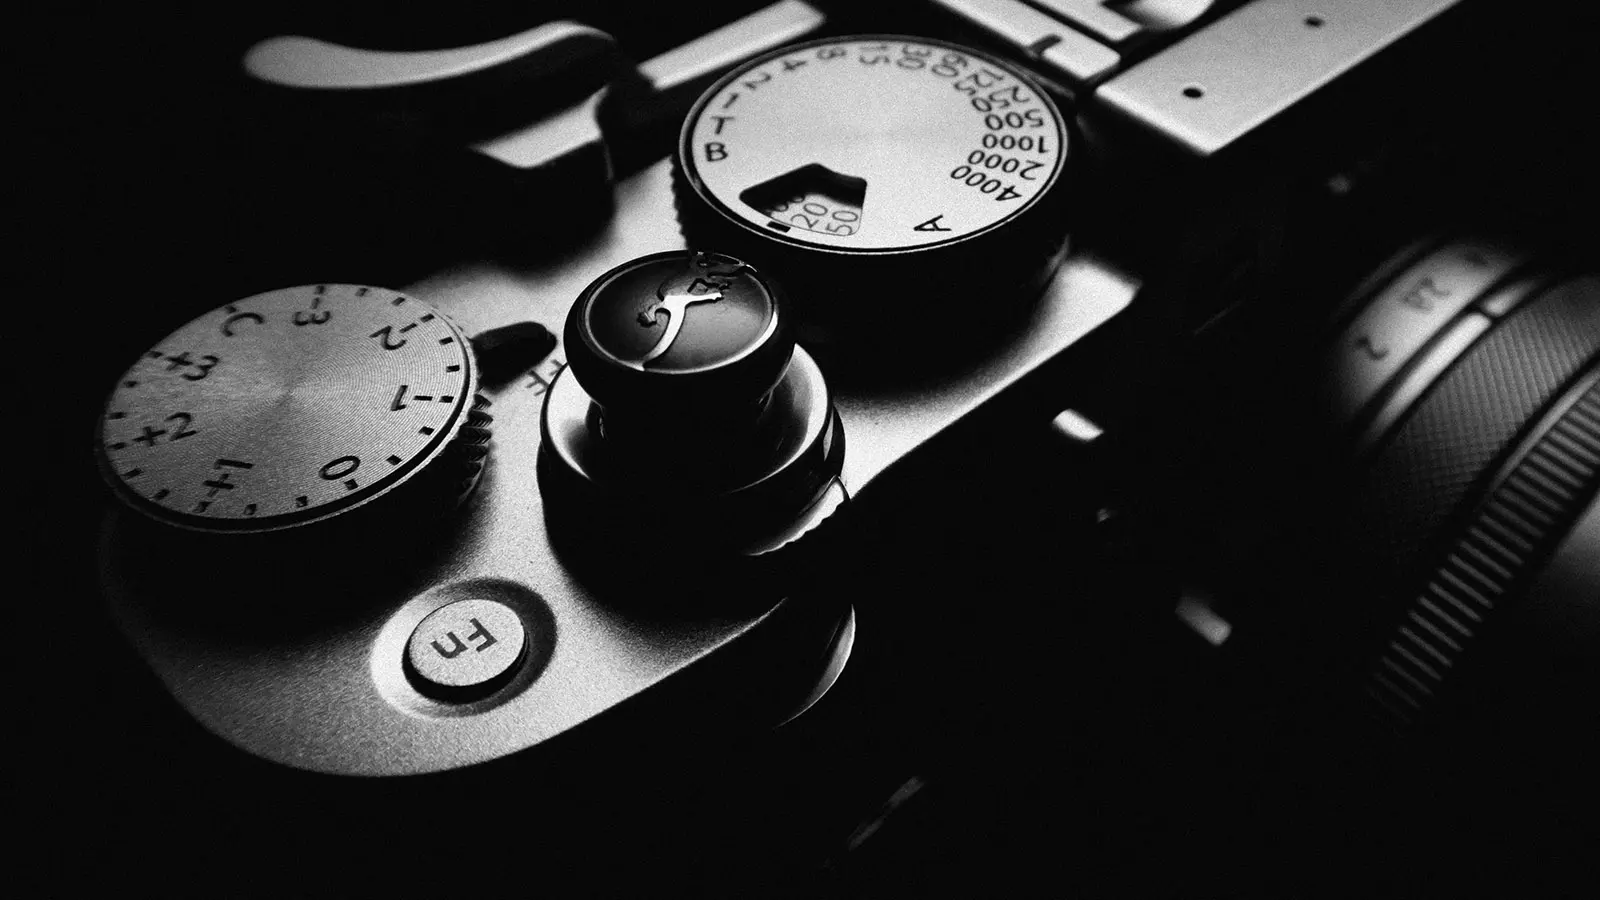
Choosing a Camera
When choosing a camera, an expensive one does not guarantee any more perfect imagery than one that is budget friendly. Cameras today are all incredibly similar in their performance and nearly anything you probably already have is likely reasonably well suited for getting started in still life photography.
If you do happen to be in the market for a new camera, here are some things to keep in mind, if still life photography is one of your planned uses. A DSLR, mirrorless or any number of advanced point and shoot models will allow you to change the lens to suit your needs. An interchangeable lens camera will almost always have better optics and be more flexible than a fixed lens, even one with a zoom feature. Both ASP-C sensor and Micro-four thirds cameras have depth of field advantages, and are generally more affordable. If you have the room in your budget, full frame sensor cameras do tend to resolve more detail.
If budget is truly not a limitation for you, and detail is what you are trying to maximize, there are plenty of high end cameras these days that can reach 50 or even 100+ megapixels, particularly once you get in to medium format sensors. Keep in mind there are several slightly more affordable full frame options in the 24-40mp range that use pixel shifting to take multiple images and combine them for incredible resolution. As this technique requires multiple images, it cannot be used for moving subjects, but for still life photography it is perfect.
If you are currently using a smart phone, or just want an upgrade, you may also consider renting a camera through a local rental store to save money and “try before you buy” if this is your first time setting up a home studio.
The final consideration in your camera choice is one with full manual mode. I personally would never purchase one without it! This will give you maximum control of your shots. If the thought of shooting in manual makes you nervous.
Camera Settings
Every genre of photography demands different photography techniques. The same applies to still life photography. Let’s understand the different camera settings you can use to get the best shots in this genre.
Manual Mode
There is a good chance that the light meter in your camera won’t do a very good job in picking its own settings. The following section will talk through how to pick the right settings for this kind of shoot, but if you aren’t familiar or comfortable with your camera’s manual mode I put together an easy to follow full guide on shooting in manual mode that you may want to take a look at before you proceed.
For shallow depth of field shots, opt for the widest aperture aka the lowest f-stop. This helps to ensure that the product is the center of attention in the frame. When you use this aperture range, the product details stay intact, even when you opt for shallow depth of field techniques, keeping the aperture at f/2.8 works best.
You can also shoot product, art, or food photographs with bokeh as a background. Thanks to the well picked aperture range, you will be able to maintain the sharpness of the image, even while you use the bokeh technique. Soft bokeh will make your product pop out of the frame subtly.
It may seem odd to devote so much attention to depth of field in lieu of everything else, but still life photography does not have a time constraint. The subject doesn’t move, so the shutter speed is unimportant. Therefore you will first choose the aperture you desire, followed by trying to keep the iso at its base level, and finally set the shutter speed to control how light or dark the image is. Always make sure your subject is properly exposed, but when used in conjunction with a thoughtful lighting setup, the exposure will determine the final feeling of the shot.
Using a Tripod for Still Life Photography
A tripod is an essential home studio accessory. Tripods give you the stability you require to capture a much crisper shot than you ever could handheld, especially if you have to shoot at very slow shutter speeds. It can also help you work for long hours without getting tired, in the same way that you would if you were having to hold a camera all day.
Aluminum tripods are a great option to consider adding to your home studio. The stability these tripods offer will certainly preventing the camera from shaking while you shoot and otherwise blurring your shot. They are very lightweight and compact, as well as cost effective, which makes it a safe choice for your studio.
Carbon fiber is a more recent option you may wish to consider if you plan to take the tripod on outdoor shoots as well. They are lighter weight which is nice for carrying around, but this actually makes them slightly worse for minimizing movement! Carbon fiber is also much more expensive.
An upgrade you may want to consider for capturing images from above your subject is is a horizontal central column. This option allows you to swing the top of the tripod into a horizontal orientation so you can shoot straight down. They are a little more expensive, but the added flexibility may well be worth it.
Finally you will want a strong and smooth operating ball head, which is another add on, but necessary as it is the part that attaches the camera to the tripod. Many tripod kits will come with a head, but make sure if you are purchasing one.
Getting the shot
Your scene is set, your lighting dialed in, the camera settings perfect and its all locked down on a tripod. It is finally time to press the shutter button! Does the image look perfect the first time out? Probably not, but don’t get discouraged.
Think of it like the eye doctor test, where they have you look through two lenses, one after another and tell them which looks better. They do this over and over, in order to slowly narrow in on the best lens for you. For you, this analogy simply means that as you try various lighting positions, compositions and arrangements of objects, you have a general idea of what you are aiming towards, and can continue to make refinements as you go. There is no shame in taking 500 photos over the course of 8 hours, if thats what it takes to get that one perfect image. Don’t worry, over time you will develop a feel for a good starting point to achieve a look, and will be able to dramatically reduce how much time and effort it takes to get to a beautiful result. This is simply to say you don’t need to be an expert with all the answers before you begin. Instead just start shooting and figure it out as you go.
Summing Up
I hope this approach, with all of my little tips and tricks, not only helps you set up a home studio, but also capture impeccable images you can be proud of. You can create magic with simple yet effective equipment and techniques. I wish you the best of luck!
I am a photographer, writer, entrepreneur, and programmer living in the great city of Chicago. I love to solve problems with technology and share what I have learned along the way.