Photographing Ink in Water
A recent phenomenon you have no doubt seen on YouTube, or perhaps as a beautiful background in an ad, is ink in water photography. The unpredictable nature of how ink will flow, the amount of light needed, and dealing with reflections on glass will all present a bit of a learning curve, but anyone can can get started making their own beautiful photographs of ink in water by following along with this guide.
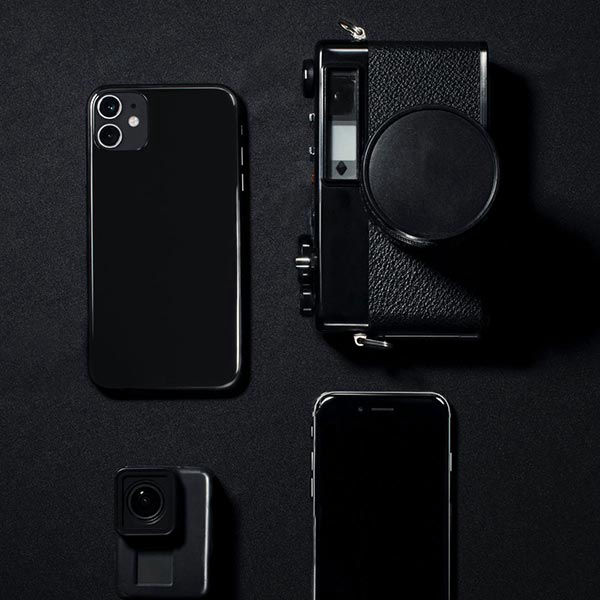
The Supplies of Ink in Water Photography
Choosing A Backdrop
Your backdrop can be anything from dark fabric to a white wall. You will be making some choices about whether your background will be in focus or not later, but that will be a primary concern about how photogenic the backdrop itself needs to be, and therefore how much thought you need to put in to it.
I am currently using a small bit of Duvetyne, which is used for theater sets. It cost me $12 USD for 55"x30" (140x76cm). It's fine, but I would recommend you blur the background a bit as it is not a particularly attractive fabric. Velvet would be better if I wanted the background to be in focus.
Choosing the Right Aquarium for Photos
If you already have one then you might as well just use it. If you do not, then I would suggest a couple of things. Acrylic weighs less than glass, though it is not quite as clear. The lighter the full aquarium is, the easier picking it up to pour it out (over and over and over) will be. The trade off is up to you. I would also suggest for this reason that you don't go much above 2-3 gallons.
My aquarium is 2 gallons, and even then it's a bit awkward to pick up and pour out, especially when the sides are wet. If you don't think you will be able to do this physically, then you can always siphon out the water or use a pump. A final suggestion, again related to weight, is that you choose a 'studio' location as near as a sink as you can reasonably get. Mine is literally on the counter right next to the sink.
Lighting Choices
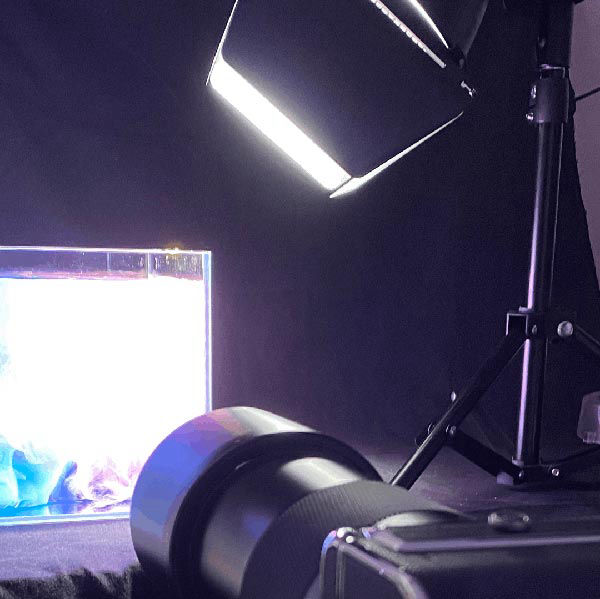
For my lighting I initially tried to recreate a clever little 'directional light' I saw in a YouTube video. The idea was to take a magnifying sheet and use it as a Fresnel lens. It didn't really work, the light just kind of spilled out everywhere. Then I decided I would probably benefit from owning a video light generally, and after reading a bunch of reviews, ended up buying something that is frankly way more than I needed, and I don't suggest you follow suit unless you plan to do video.
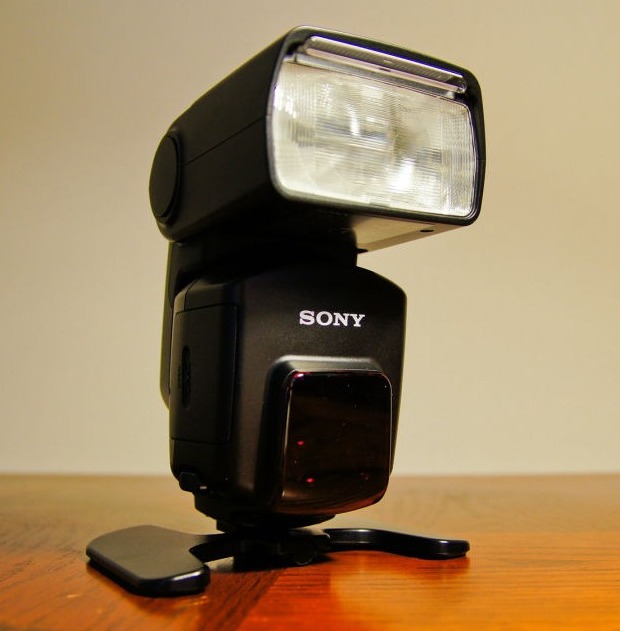
For still photography I highly recommend an off camera flash, but a flashlight, or even a window with curtains should give you the control you need in a pinch. Of course even just the ambient room light will work if you don't have anything else, but it will effect your camera settings and therefore the look of the final image.
The Best Inks in Water
Ink or paint is the final piece of the puzzle, yet in many ways is the least important (unless you have a really specific look in mind). I started with food coloring. It is really pretty, but so thin that the effect wasn't really impressive to me. However if you want to really see some fine details its a good choice.
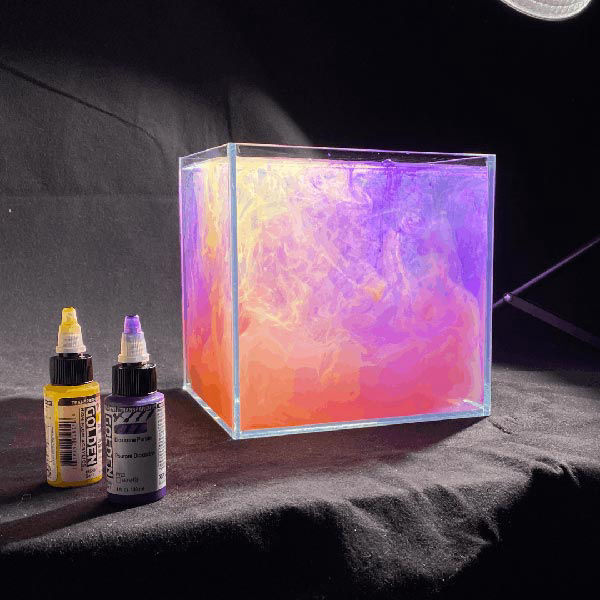
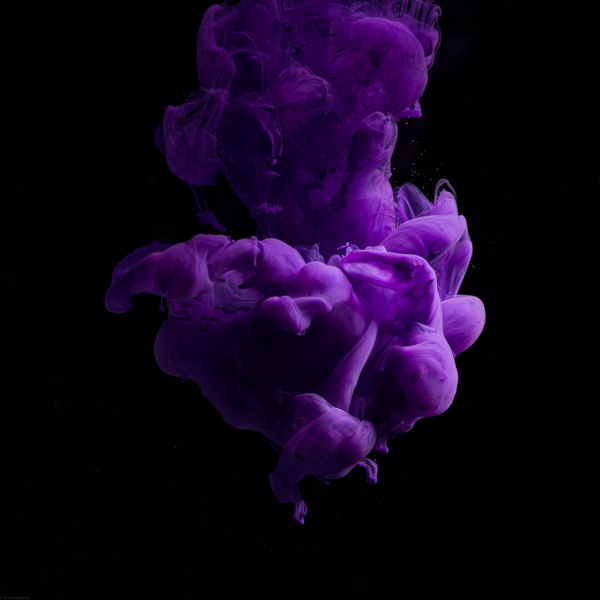
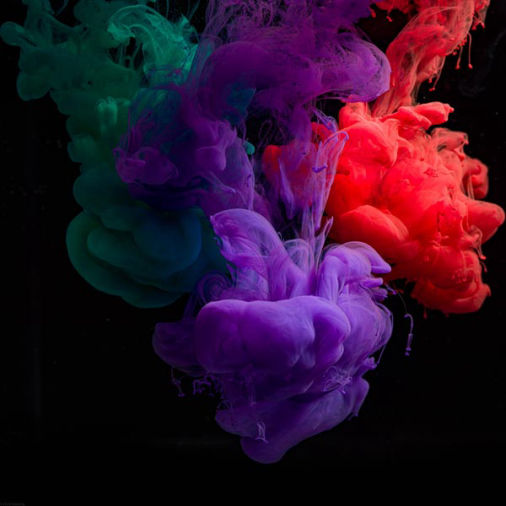
My current go to is liquid acrylic ink. There are several kinds available, so you just want to make sure the description is clear about it being liquid. The more viscous it is the more it will billow and flow. The image at the beginning of the article is acrylic ink in water.
Camera and Settings for Ink in Water Photography
Which Camera do you Need?
Whatever kind you already have! Seriously, no need to buy an expensive new mirrorless if you have a smart phone. Already have a DSLR? Great!
If you have a mirrorless or DSLR, then read the lens section next, if you are using a smart phone then jump ahead to tripods. Either way there are some settings you will want to think about in order to achieve particular looks like blurred backgrounds, sharp vs soft ink and how much of the aquarium itself should be in the shot, that will be the last section.
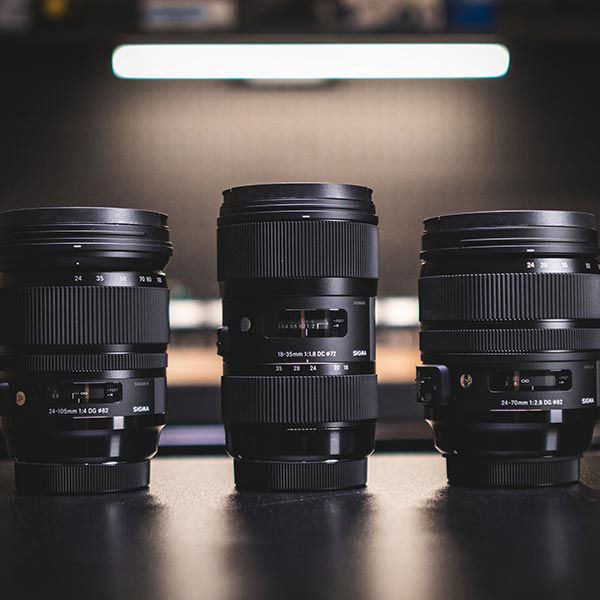
Choosing the Right Lens
The three aspects of a lens that may matter to you are the focal length, the minimum aperture and the minimum focus distance.
The focal length (and minimum focus distance) will determine how far away from the aquarium your camera needs to be. For full frame cameras something between 50mm and 100mm will likely work best. An advantage of zoom lenses here is flexibility. For smartphones you should choose one of the camera lenses (usually wide, normal and tele) rather than relying on the digital zoom. The minimum focus distance will determine how close you can place the camera to the aquarium, and therefore whether you can 'fill the frame' with just the ink in water, or whether you will have to crop out the aquarium itself in post.
The minimum aperture will dictate how much light the lens lets in, but which also determines how much is in focus or blurred out. f/2.8 or faster has advantages, like making it possible to shoot indoors with ambient light, but will only leave a small amount of the tank in focus (front to back). f/4 or greater will increase how much is in focus, but as it lets less light in you may need to add additional lighting to make up for it.
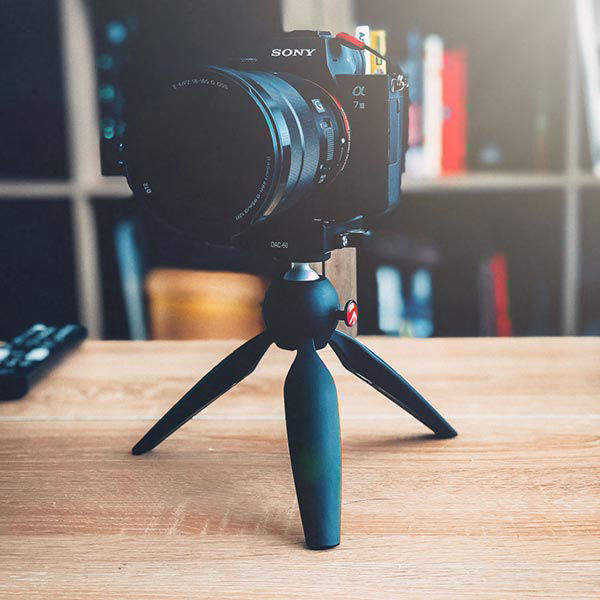
Do you Even Need a Tripod?
It's actually completely optional! But tripods do have the advantage of allowing you to completely set up your shot beforehand and then not have to try to hold the camera while dripping the ink (or have an assistant).
Desktop tripods, like pictured, are cheaper. They also allow you to move the camera as close or far from the aquarium as needed for your lens (as long as you don't run out of table), but you may then need to put the aquarium on something to raise it up to camera level.
Floor tripods are more expensive, and will push your camera back away from the aquarium (since it sits in the middle of the legs, which are off the table) requiring a longer focal length lens. But their height adjustment will allow you to shoot the aquarium sitting right on the table.
Camera Settings
If you’re itching to get started taking pictures, then feel free to throw your camera in auto mode and skip ahead (or your smartphone in to its regular camera app). Once you’ve played around with that a bit and want some more control of the amount of light, control of what is in focus, ability to freeze motion, or to prefocus then come back here.
Below you will find an explanation of each of the camera settings that will help you achieve these results. Read the overview and then click your camera brand for specifics on how to change the settings.
Manual Mode Overview
Most of the time you can just let your camera decide its own settings in automatic mode. Unfortuantely with photographing ink in water the camera won’t be able to determine the best settings until its too late, since the scene will change once the ink goes in to the water. First, the camera can’t focus on water, so it will focus on the background or an edge of the tank instead. Second, the light will change once the ink starts filling the water, which may cause your camera to change settings. For these reasons we are going to set up focus and exposure before hand. Don’t worry, it’s not that complicated and you only need to do it once. If you are using a phone there are apps that let you control settings better than the default camera app.
If you want more information, here is my full guide on shooting in manual mode.
Preparing the Shot
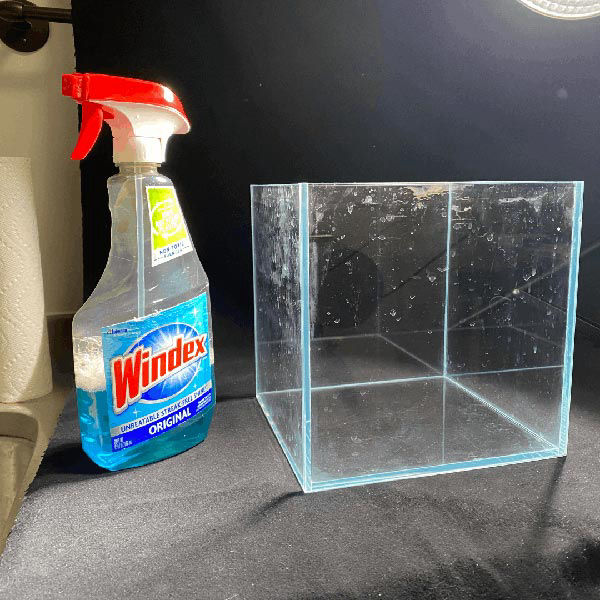
Clean Your Aquarium Between Shots
Even the first time you are about to take photos, you will want to make sure of two things. The aquarium glass is not all smudged up, and that the bubbles are gone. The second time things will be worse, acrylic ink leaves behind a residue.
My recommended process is to rinse out the aquarium in the sink. Then while it is in the sink spray the inside liberally with Windex and wipe out with a paper towel or cloth. Then fill the aquarium with water. Then take the aquarium out of the sink and set it on your backdrop. Finally Windex the outside to remove any fingerprints or smudges.
You may also wish to pick up a squeegee or magnetic aquarium cleaner. They are very useful for removing bubbles, which is much more annoying to have to do in post.
Pre-Focus in the Middle of Your Aquarium Before Dripping the Ink
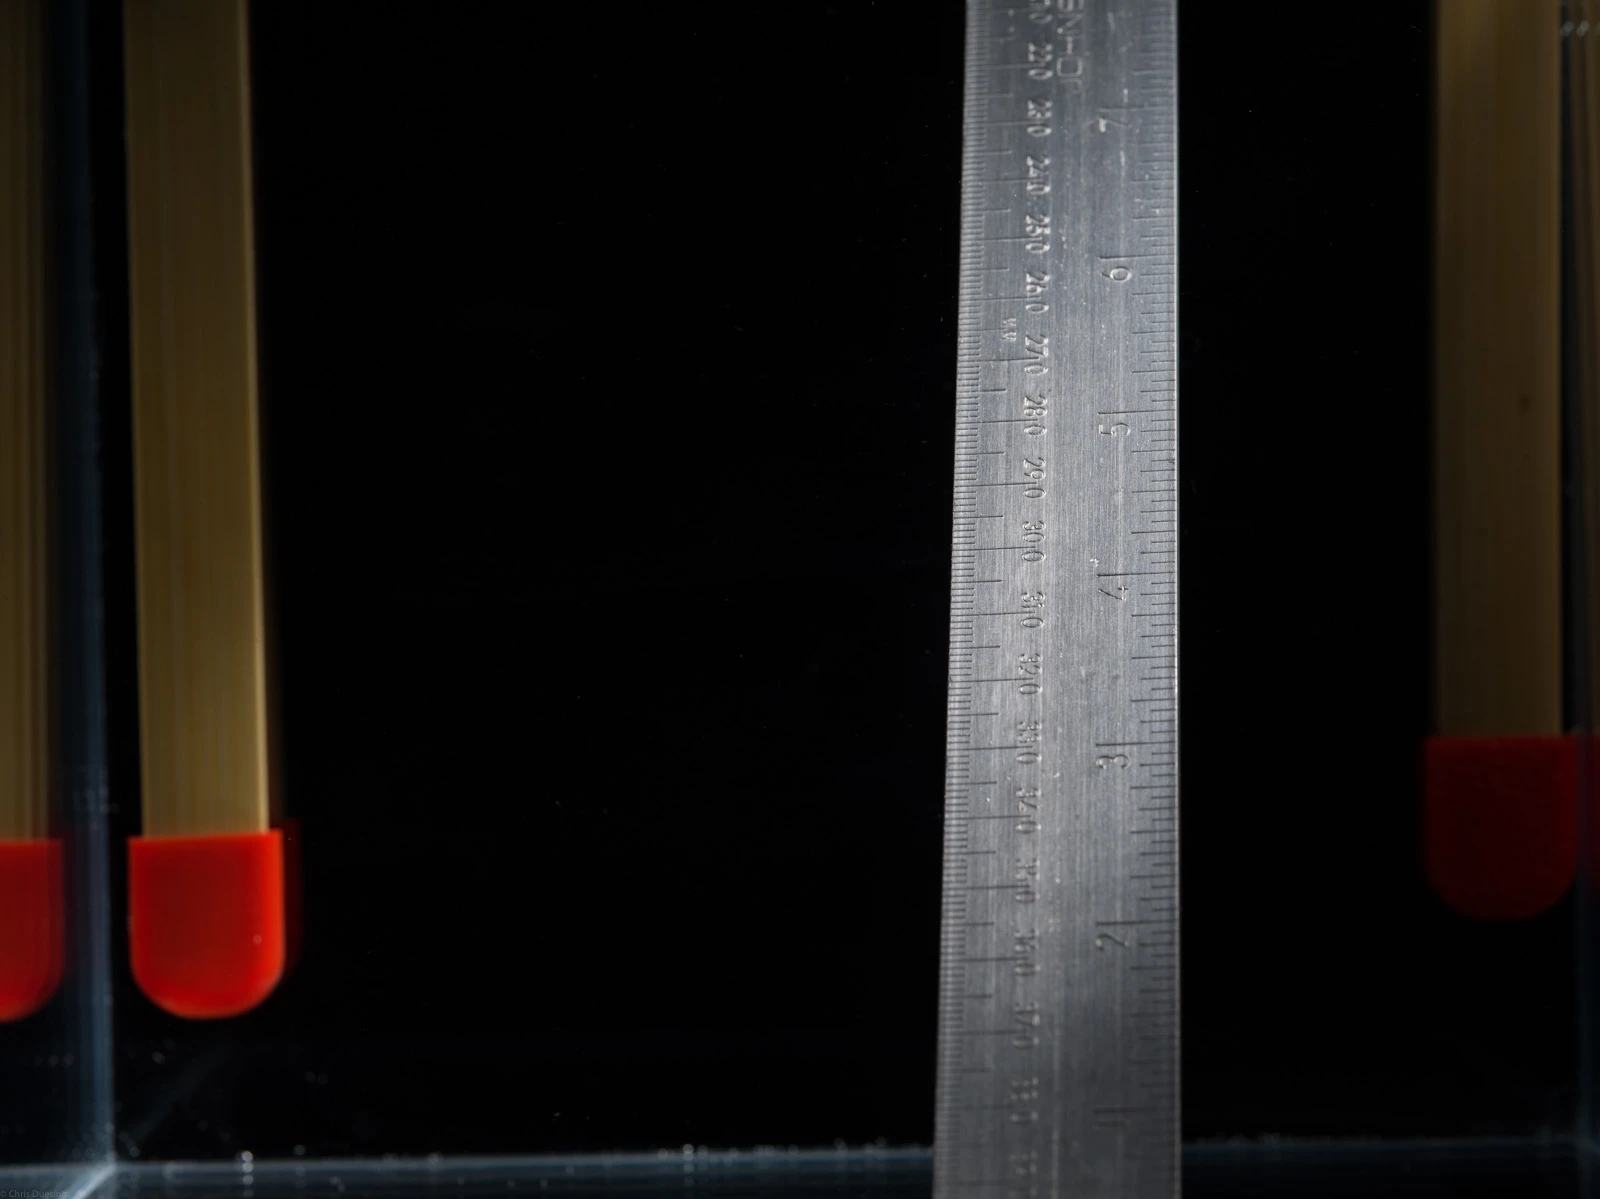
You will want to place something inside the aquarium where you will drip the ink, and then focus on that. I recommend finding a metal ruler, placing one end at the bottom of the aquarium on the side closest to the camera, and then the top of the ruler resting on the top of the aquarium edge on the side furthest from the camera. This will give you a surface with clearly marked increments to focus on that runs the full depth of the aquarium.
Place a couple small marks or pieces of tape on the top side edges of the number you focused on, these will be your guides when you drip the ink. Keep the ruler in the tank for the next step.
Figuring Out the Correct Exposure For… the Ink You Have Not Yet Added?
It sounds a bit like a riddle, but much like getting the focus right, what you need is a proxy for the ink that is not there yet. In the previous step I mentioned leaving the metal ruler in the water, and while this will work be aware that it is a reflective material and will add a hot spot. Don't try to expose down for this, just make sure the rest of the ruler is a nice medium grey and has good contrast around the numbers and markings.
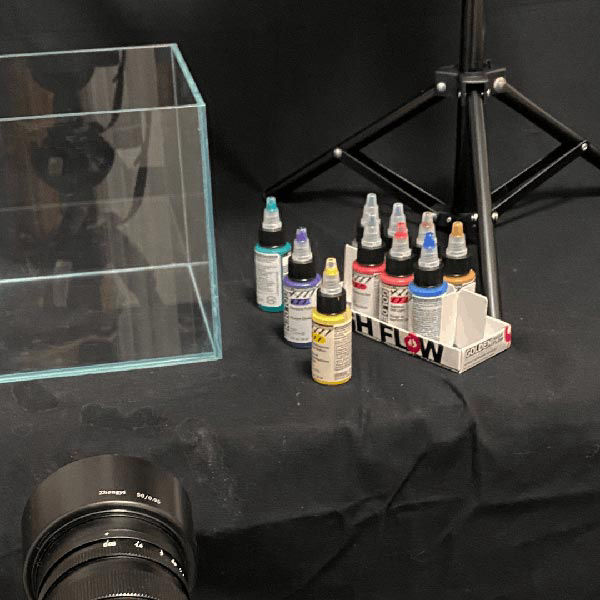
You can do this one of three ways. Use the in camera meter with a constant light on like in the picture, use a separate light meter in the aquarium with your flash (before you fill it), or guess and take some shots with the flash until it looks good. I suggest starting at ISO 100, f/5.6, and 1/125 of a second and going from there.
Timing the Dripping of Ink with the Taking of Pictures
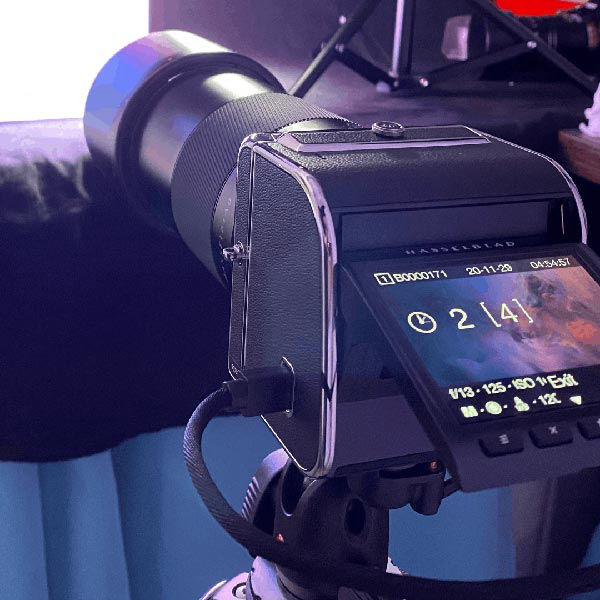
You essentially have two choices here, the first is to drip or pour the ink and then quickly hop back to the camera and start shooting manually. That can certainly work, but sometimes the most interesting shapes happen pretty quickly. The other choice, pictured here, is setting your camera to continuous.
I have mine to take a sequence of 10 photos 2 seconds apart. If your camera supports it I would actually suggest 20 photos 1 second apart. You can do more but it all starts to get pretty cloudy (unless that is the look you are going for).
Getting the Picture
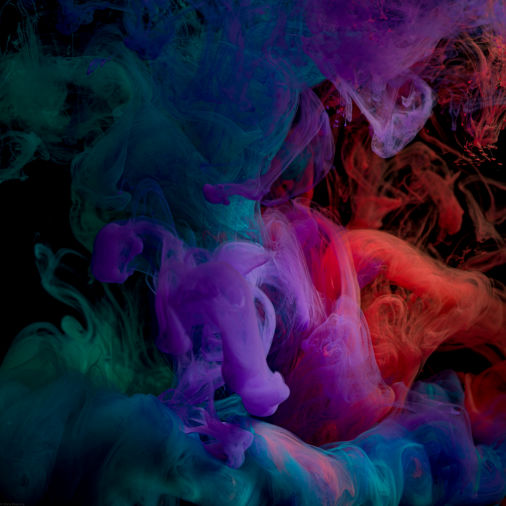
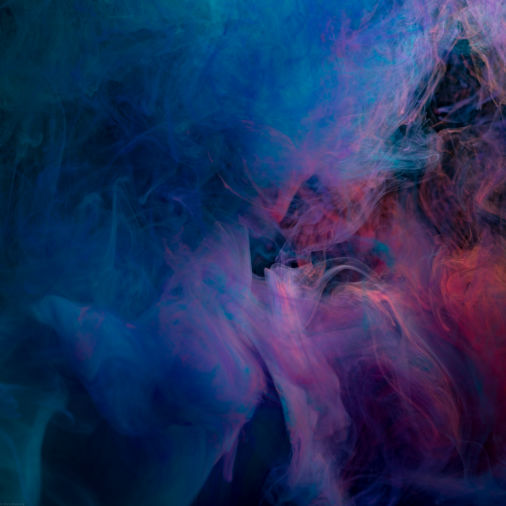
You’ve probably been getting a bit impatient to get to this section, but all of the work is actually done! Now you just need to press the shutter, grab the bottles and start dripping in the ink. You will absolutely have to do this over and over, tweaking things each time until you get results you like! Here are some images I took that will maybe help inspire some ideas of your own. Good luck!

I am a photographer, writer, entrepreneur, and programmer living in the great city of Chicago. I love to solve problems with technology and share what I have learned along the way.