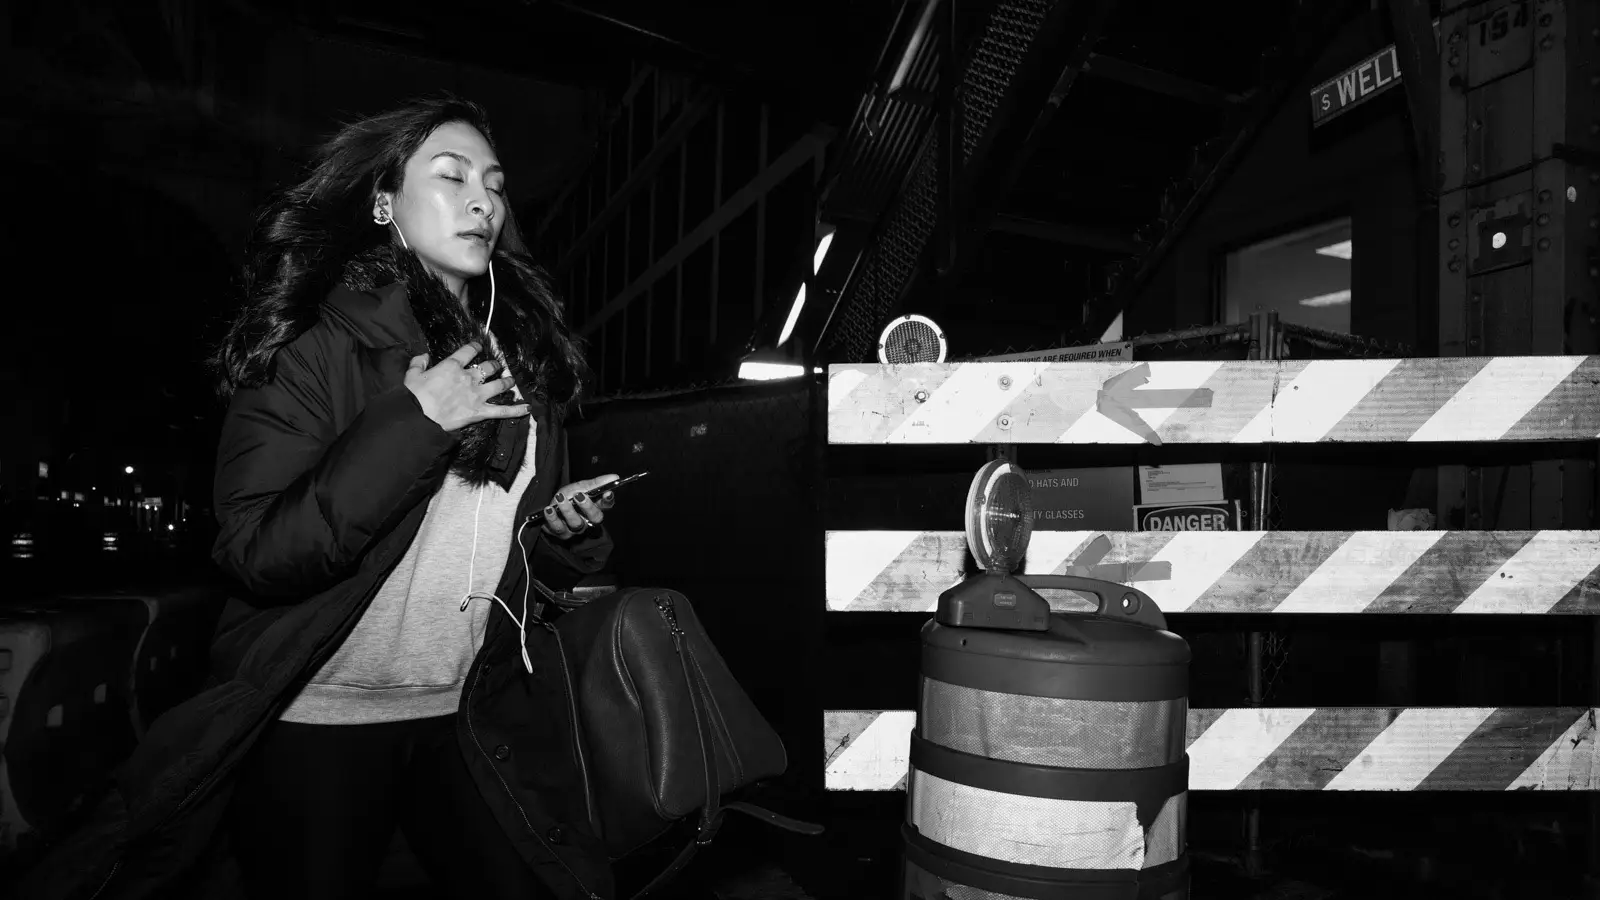
Photographing in Manual Mode
It can be so frustrating when you are trying to take a picture, but it just isn’t turning out the way you want.
The problem is that cameras don’t know what we want them to do. They can only make guesses about how to set their values based on the scene in front of them and they have no idea if those guesses are right or wrong.
That’s where manual mode comes in. Manually setting your camera will ensure that every photo comes out exactly as you intended, because it was YOU who told your camera what settings to use for each shot.
For many people, learning how to use a camera in manual mode is an exercise in frustration. It can be really hard to wrap your head around the concept of shutter speed, aperture and ISO all at once.
The problem with most tutorials out there is that they try to teach you everything at once. This tutorial will walk through each setting individually so that when we are done, not only will it make sense but you will be ready to take photographs that look exactly the way you wanted them to.
I won’t overload you with information - instead we’ll take things slow. Even if this is your first foray into getting more creative control over what comes out of your camera’s lens, by the end of this article you’ll have all the knowledge necessary
What is Manual Mode?
Nearly all modern cameras come with automatic settings that make getting a desired image very easy, most of the time. But when you want to take total creative control, or get a specific look from your photo, or are in a tricky lighting situation, you need manual mode. Manual mode allows you to set the shutter speed, aperture (or f-stop), and ISO yourself, rather than having the camera make an educated guess about what those values should be set to. We will dive in to each of these settings one at a time and by the time we are done they will not only make all the sense in the world, but you will understand exactly how to get the look you desire in all of your photographs.
How do I use manual mode on my camera?
In order to use it on your camera, find the MODE button or dial and press or turn it until you see “M”. If you need any help with your specific brand of camera, check the instruction manual that came with the camera. Once you find manual mode we can dive right in!
And don’t worry, this article is not meant to be overwhelming. We’re going to go through it slowly. If you’re new to photography, or if you’ve been shooting in automatic mode and want more control, then stay tuned.
These 3 Settings Are All About Controlling Light
I’m going to break this down into the different elements: aperture, shutter speed, and ISO. Each of these three elements contribute to the amount of light that is captured by the sensor or film, and each has a specific effect on the look of the picture.These three settings are often collectively referred to as the exposure triangle.
The Three Elements of the Exposure Triangle
A photographic image is made up of three elements: aperture, shutter speed, and ISO. Aperture controls how much light comes through the lens, while shutter speed controls how long that light stays on the sensor. ISO controls how sensitive the sensor is.
Let’s dive in to each one at a time.
Aperture
Aperture controls how much light enters your lens. It is physically made up of a series of blades just inside the front of your lens that open and close, letting light through the hole in the middle. The wider open it is the more light can come in. The smaller it is, less light can come in. In addition to controlling light, opening up the aperture also gives you a shallow depth of field, meaning that the background will be blurry while the subject is in focus. So, if you want as much in focus as possible, you will want to set this at f/8 or slower, which is sometimes referred to as stopping down the aperture. If you want as little as possible in focus, aside from the exact part of your subject you are trying to highlight, you will set it at f/2.8 or faster. This is referred to as opening up the aperture, and if you put it to the lenses fastest setting it is called shooting wide open. Remember wide open (a small f number) is letting lots of light in, closed down (a large f number) is letting very little light in. Wide open only has a little bit of the subject in focus, closed down will have nearly everything in focus. This is potentially the most counter-intuitive setting, it might be natural to think the numbers should be revered. It is based on a scientific measure and it found its way in to the marketing of lenses and stuck. Once you hear these numbers a few times it will become second nature.
Shutter Speed
Shutter speed measures the length of time that light is let through to the sensor or film. It is physically made up of a pair of “curtains” (pieces of metal) that slide open across the sensor inside the camera when you push the shutter button. Keeping the shutter open longer lets in more light, keeping it open more briefly lets less light in. Shutter speeds of 1/500th or faster are generally used for freezing fast moving objects such as waterfalls or lightning. Shutter speeds below 1/125th can be difficult to not start to introduce blur, either that of the subject or of the photographer’s hands shaking. Some photographers with steady hands can shoot at 1/60th of a second or even slower, but doing this consistently may be difficult. Usually when you start shooting at speeds this slow it pays to use a tripod.
ISO
ISO is the measurement of how sensitive your digital camera sensor (or film) is to light. As your ISO goes up the camera becomes more sensitive to light, so you can get the picture in less and less light. The tradeoff is the more grainy the picture will become. While you may wish to have some grain for an effect (and grain can look nice for film photography), generally speaking you will want to keep the ISO number as low as possible, ideally at its base level, ISO 100 for most cameras. That said, if your exposure is close, but just not quite bright enough, ISO is the first setting you will want to compromise on. How much depends on your camera, but anything up to 400 should be nearly perfect, 800 a bit less so, 1600 and up will likely show grain. Older cameras will really fall apart between 3200 and 6400, but some of the newer ones can go up to 10,000 or higher and still get pretty decent results. /// ## Metering Light At the most fundamental level, taking a photograph is about collecting enough light. If enough light hits the sensor or film for a long enough time, an image will be made. If not enough light is collected the image will be dark, referred to as under exposed. If too much light is collected the image will be washed out, or over exposed. Most cameras have a tool called a light meter built in to let themselves, and you, know if there is enough light being collected to make a properly exposed image.
Leveraging the Light Meter
The camera uses the light meter in auto mode, so we are going to use it as our starting point as well. With your camera in manual mode you will be able to change your shutter speed, aperture and iso independently. There are likely dials on the top of your camera for some or all of these settings, refer to your instruction manual to figure out how to set them. Look through the lens or at the back screen and adjust your aperture, shutter speed and ISO until the light meter says your image is properly exposed.
Adjust Your Settings Based on Your Desired Result
You could now take your photo and it will technically be properly exposed, but it is almost certainly wrong for your desired result. The settings you arrived at are likely not the creative tradeoffs you are looking for. If your ISO is too high the image quality may look bad. If the shutter speed is too slow or fast you may end up with blur if you are hand held shooting or shooting a moving subject. If your Aperture is too open or closed you may not have the depth of field you desire.
Adjusting the Settings is a Dance
To change any of these settings individually will make the image no longer properly exposed. If the ISO is too high, and you lower it, the image will get dark. So to make this change you need to decide if you want to also open up the aperture further, or raise the shutter speed. Every setting change must have a corresponding change to one other setting to keep the exposure proper.
This is where the name exposure triangle comes from. The three settings are interconnected, when one changes there must be compensation elsewhere. While you could spend a lot of time reading up on the technical aspects of exposure, and trying to understand the science and mechanisms behind this phenomenon, the best way to learn is to play. You will get a feel for it very quickly if you just put your camera on a tripod, point it at some random scene in your home and start dialing in different combinations of settings. Once you get a good feel for the principle it will come naturally when it is time to take your real pictures.
Manual Focus
Once you have a reasonable handle on the basics of the exposure triangle, the final task is learning manual focus. It is pretty simple, but takes a bit of practice to get a feel for.
First look through the viewfinder. Some cameras have a patch in the middle that either has a pattern that splits up whatever you are looking at, and by bringing the pattern in to alignment you have focused on the object. Other lenses simply show you the whole scene and leave it to you to decide when you have nailed focus. If you’re not there already, find the focus ring and start turning it. To practice geometric shapes or words tend to be the easiest to learn on, as it is much more obvious if the image is out of focus.
This is the final frontier of photography as it requires a great deal of practice. But once you perfect it, your pictures will have a clarity and versatility that will make everyone say, “look at those beautiful photos.”

I am a photographer, writer, entrepreneur, and programmer living in the great city of Chicago. I love to solve problems with technology and share what I have learned along the way.