Photographing Reflective Objects
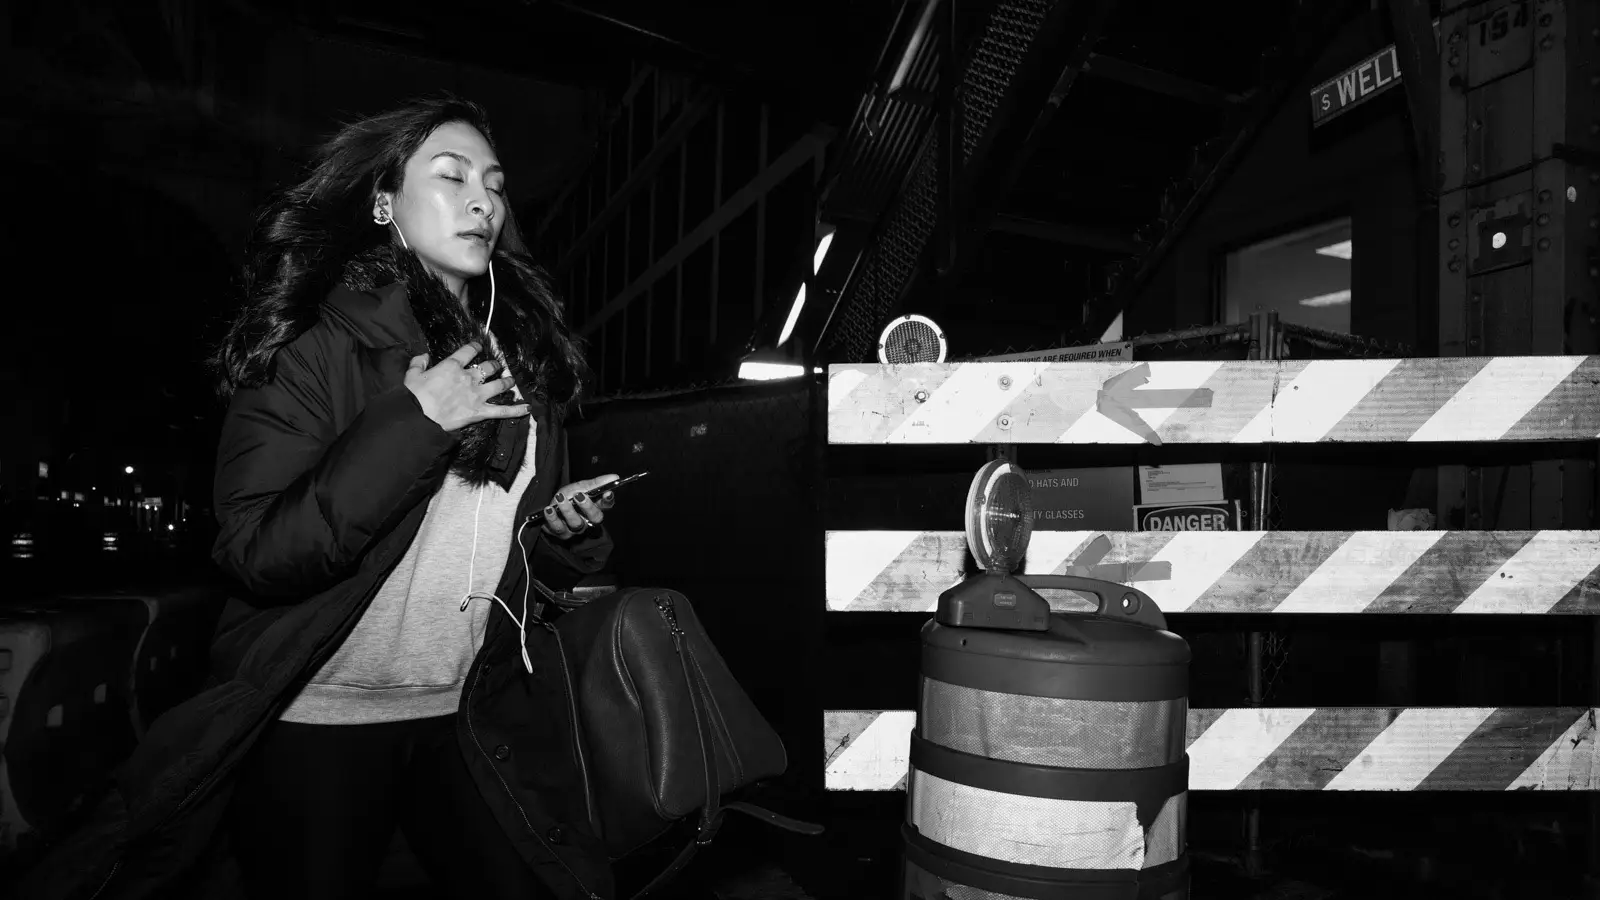
Have you ever found yourself just about to click the shutter and capture a seemingly brilliant photo of something, that happens to be reflective? Perhaps you’re taking a product photo of something shiny such as metal, glass, or a mirror. Or an architectural photo of a glass building. And then you notice; you can see yourself and the camera in the reflection!
A mirrored surface requires you to essentially compose two photos. One of the mirror, and the second is what is reflected in the mirror.
Short of resorting to Photoshop and spending a ton of time for mediocre results, what can you do right in camera to make your life easier?
Your primary options are threefold; change your angle, incorporate the scene, or hide it.
Change Your Angle
If you are shooting something that is not wholly or in part spherical, you may be able to get away with simply moving yourself or turning the object 45 degrees away from you, so that it is reflecting something that is not you. From there you will still of course have reflections, and the next two options will give you ways to deal with them.
Incorporate the Scene
Consider what the reflections are showing you, how they capture other parts of the scene. Perhaps other parts of the scene are relevant, or interesting. If you are shooting outdoors perhaps the reflection could have sky, or people walking by that add to the story of an urban building. If you are shooting a product photo with a wine bottle perhaps the wine glass is not in the image directly, but is reflected in the bottle. There are endless creative opportunities. First you need to identify where the reflections are coming from, and then decide what you want to do with them. You may be able to move yourself, or reposition your subject, to put something more relevant or of greater interest in the reflection. If not, you do have a final option.
Hide the Scene
There are two main categories when it comes to setting. One is a studio, where you have a tremendous amount of control over the lighting and what is around you, the other is on location, like a home or public space. If you want to hide things being reflected, the more ability you have to control the setting of the object that you are photographing the better.
Photographing on Location
You want to take pictures of that shiny car with the chromed bumpers. You can’t move the car, you can’t move the surroundings. You can change your angle, but what if that angle is the perfect one? First consider can you actually lower your angle? Changing the reflection from you or the background to the sky? If not, do you have a light source or large, plain surface you can use to block out distracting objects?
Photographing Objects in Studio
If you are lucky, you will be photographing your shiny thing in a place you have total control over the environment. It is much easier to make sure that the mirror you are photographing is filled with something neutral to get the results you want. This is the technique I used for photographing ink in water.
If you have some directional lights, like grid spots on strobes, or fresnel hot lights, you can use them to essentially override whatever unwanted thing is appearing in your reflection. You can use direct light, or if you need to cover a larger area perhaps a white wall you are shooting lit very hot. Take a card on a light stand or a v-flat, either white or black, and fill the mirror’s reflection with the card. The card may have to be large, depending on the size of the mirror you are photographing. Once you have filled in the mirror’s reflection with the card, you can use lights to create an attractive reflection in the mirror.
If you want to do something more creative, think about using some gels on the light that is creating the reflection, or even use some crazy fabric to really make an impact. It is all about what you want the final image to look like.
Another Consideration
When creatively using lights to alter what is reflected, make sure to keep the lights from pointing directly towards the lens, as there is a major risk of lens flare with this lighting scenario.
Hide the Camera, in Camera!
There is one last trick, and it may very well be the best one. But it is not inexpensive, or available for every camera, so I mention it last. And that is the tilt/shift lens.
Tilt/Shift Lens
If you have the budget, a tilt/shift lens will allow you to take a picture that looks like it was shot straight on, of a reflective surface, and not have the camera show up in the photograph. It is an easy way to ‘cheat’ physics, at least as far as the final image is concerned. How? A tilt shift lens allows you to move the front glass of the lens independently of the back glass of the lens.
The “trick” of a tilt shift lens, or the movements of a view camera, is you can still make your subject look rectilinear, meaning you can make parallel lines actually parallel, even though they don’t look that way from your vantage point. Think of how a tall building seems to converge towards the top. With a tilt/shift lens you can make those lines look parallel again. And that is essentially the trick of removing yourself and the camera from the image as well. You can shoot the image from slightly to the side, and use the lens to make the lines parallel as they would look from in front. It doesn’t work like a magical periscope, it just allows you to take an off center image and re-arrange the lines to look centered and straight.
A side effect is that this also allows you to control the view plane, which is the part of the image that is in focus. We take it for granted that this is always completely parallel to the film/sensor in traditional photography, but with a tilt shift lens it can seemingly cut through the image in any direction. The effect will be incredibly obvious to the viewer, so do be careful if you choose to use this approach.

I am a photographer, writer, entrepreneur, and programmer living in the great city of Chicago. I love to solve problems with technology and share what I have learned along the way.