Experimental Photography
Experimental photography is about using your camera as an artistic tool; to capture what is in your imagination rather than what is in front of you. Perhaps more akin to art forms that are not strictly representational, a successful experimental image can make people look at photography in a whole new light.
It may sound counter intuitive to capture images that do not represent things that actually exist in the real world. Many experimental photographers have done so by experimenting with several aspects of the image creation process. These may include distortion, ghosting, double exposures, unusual planes of focus, or perhaps they want to do away with the camera entirely and produce wholly abstract results.
In this article we’re going to take a look at most of the available techniques to take photography out of the realm of representing the real. In order we will look at in-camera techniques, processing techniques, and post-processing techniques. Some of these techniques can be achieved with a digital camera, particularly the in camera techniques, while most everything in this article is achievable with film. Yet another reason to consider the analog arts, if you weren’t already.
In Camera Techniques
Serious, professional photographers would consider any of these techniques to be things that ‘ruin’ an image. But in a creative context these techniques can be used to add an unexpected element to a photograph.
Light Leaks
While technically a malfunction of a camera, interesting artifacts can change a photograph when light is able to reach the film through means other than via the lens when the shutter is released. The effect, known as light leaks, can be induced by intentionally using a poorly sealed camera body. It can, to a lesser degree, be mimicked by sending light in to the lens during the picture taking process. Traditionally if a point light source is shone directly in to the lens, such as the sun, it will show the light source and a flare or sunburst pattern. But if instead the light is shone in from an oblique angle, perhaps using a prism or curved glass in front of part of the lens, it will produce a similar effect to a real light leak.
Distortion
Where light leaks are often associated with poor quality camera bodies, poor quality lenses can also lead to interesting effects. Distortion of some sort is the most likely end result of using a less than perfect piece of glass as a lens.
Toy Cameras
Combining light leaks and distortion in to a lightweight and inexpensive package is the specialty of toy cameras. It should be noted that these “toys”, such as Holgas, were not initially meant to produce art. They were simply a means of getting cameras in to the hands of the masses at a very affordable price.
Much like Polaroids, the process created a certain look, which to serious photographers of the time was likely considered a bit of a joke, but has since been harnessed to create some very beautiful and unusual images by embracing imperfection.
Pin Hole Photography
Lenses work by focusing light, and have complex mathematics behind their curvature. You can technically do away with the lens entirely, if you make the opening for light to enter the camera small enough. With such a small opening all of the light rays are focused when they hit the film. The tradeoff of course is a lack of correcting optics, and incredibly long exposure times. Often achieved with a coffee can and paper negatives, themselves also incredibly slow to expose, pin hole photography produces a very unique look.
Free Lensing
Another trick for combining the look of light leaks and distortion, but really dialing it up, is called free lensing. The name may initially sound odd, but it literally means removing the lens from your camera and holding it in your hand and moving it around freely in front of the camera to focus light. This technique is works best with digital cameras that have a rear screen, so you can see what you are getting as you compose the shot.
Double Exposure
A double exposure is the practice of taking two pictures back to back on the same film. Film has the property that any light that it is exposed to will “overwrite” whatever was there before, if it was darker. So think of an unexposed film as black, and any light you expose it to as will leave an image in the dark places (anywhere). A second exposure will add light, particularly effectively in the still dark areas.
Double exposures of similar levels of lighting will mostly just produce a mess, which can be interesting if your goal is pure abstraction. If you hope to merge two things in a creative way, however, it is best to have your main subject be well lit, and in a position on the film where there is largely darkness in the other exposure.
Motion Blur
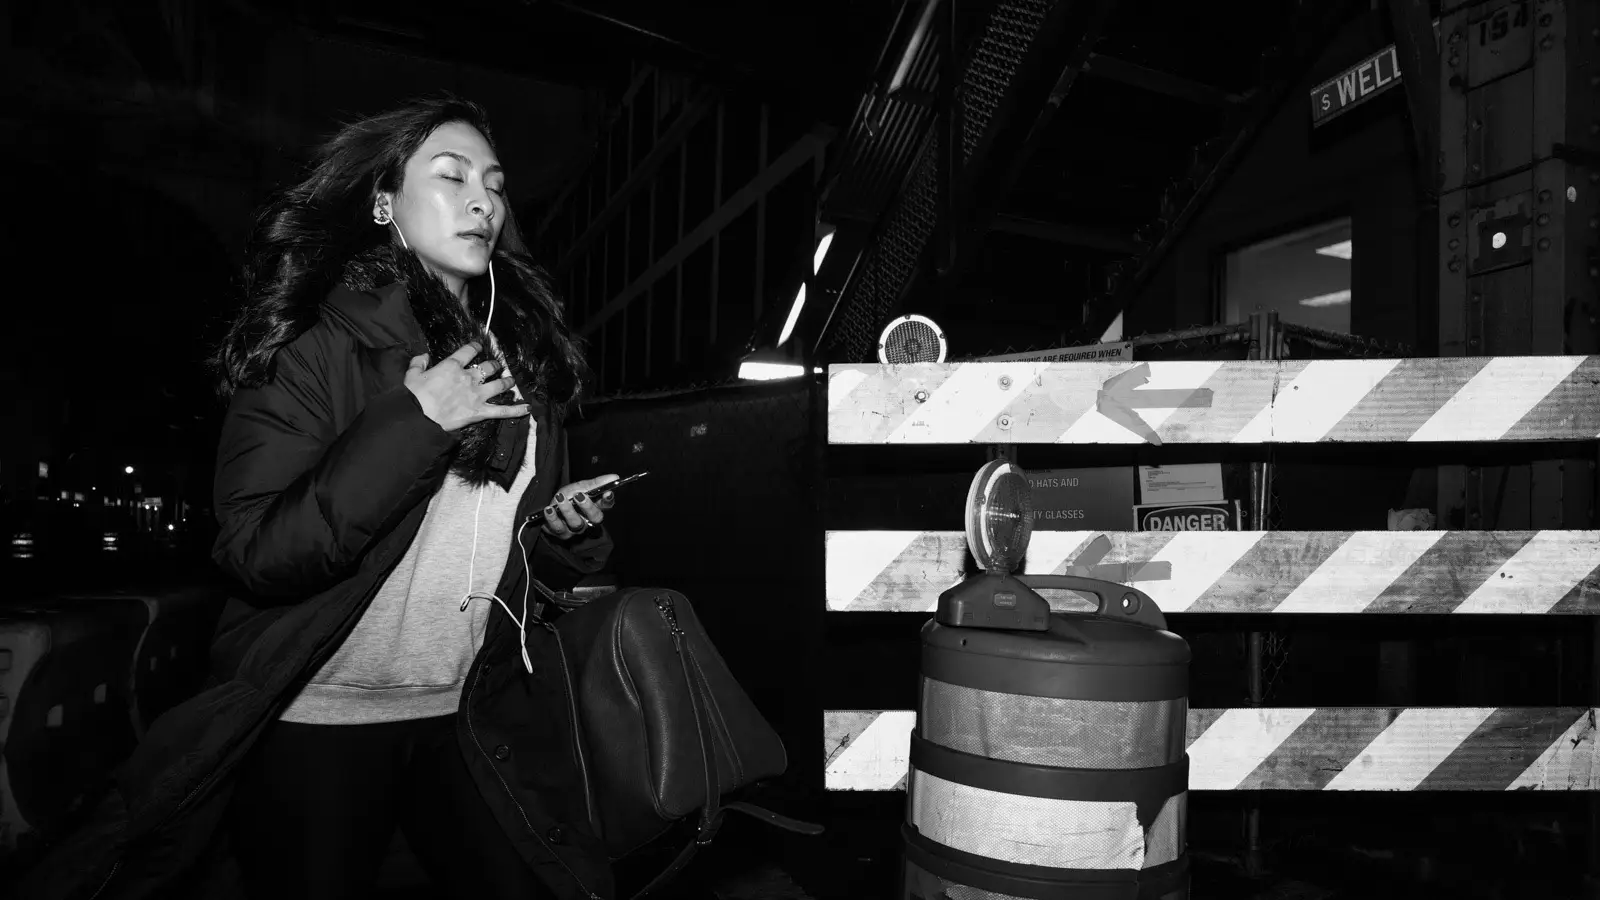
Motion blur occurs when you take a picture of something moving, and that object blurs across the image. It happens when the shutter speed is slow, and therefore creating an exposure for longer than the object is in a single position. This is something you commonly see if you try to use your camera for night photography. There is so little light available, the camera will lengthen the shutter speed, often leaving the entire image blurry because your hands were also not perfectly still during the exposure.
But it can also be used creatively. Typically intentional motion blur is used in sports or other activities to help convey the motion of the subject compared to the background. In experimental photography however it may be an intentional choice to not use a tripod and blur the entire image.
Light Painting
Light painting is a technique where you use light in an artistic way. It is very similar to motion blur, but instead of moving the camera, you move the a light source in front of the camera, and use a long exposure to capture it. The result often reminds me of a neon sign, not only in looking like shapes of light, but in that the illumination around the shape acts similarly to there being an actual light source there (which of course their was during the exposure).
Infrared Photography
There are a few special films which can be used to capture images that the human eye cannot see. These are wavelengths of light that are typically either not visible at all, or only faintly at the edges of the visible spectrum. Digital sensors by default can capture this image information, however manufacturers put special layers or coatings on their sensors to stop these wavelengths of light. Some cameras can be purchased without them, and services exist that will remove them from existing cameras. The trouble is that these wavelengths of light focus in a different place than the regular red, green and blue. For digital you will want to use live view to get focus, for older film cameras look for lenses with a small red dot on the distance focus scale, next to the white dot which is normally used.
Selective Focus with Camera and Lens Movements
A view camera or a tilt shift lens can be used to create an image that has x appear out of focus, while keeping something y in focus. This can be used for a number of artistic effects, such as the appearance of miniaturization. The primary movements are tilt, changing the angle of the lens to the film plane and shift, sliding the lens back and forth while remaining parallel to the film plane. In view cameras the analog to tilt is swing which is moving the back element in relation to the lens and rise and fall are analogous to shift but moving the lens up and down rather than side to side.
Alternatives to Silver Gelatin
The most common chemical based mechanism for capturing a photograph on film today is using silver, most often in some sort of gelatin solution coated on to plastic film. However, there are alternatives that are listed here because they provide a unique look which can be part of an experimental photography practice.
Wet and Dry Plate Photography
wet and dry plate photography are the oldest form of commercially available photographic materials and widely adopted processes. Following the Daguerreotype, first used in the 18th century with mercury-based chemicals on glass plates, Ambrotype and other interesting early processes, silver and collodion won the market by being the simplest and least dangerous processes of their time. Most famous for their use to capture pictures of soldiers headed off to the Civil War, these processes are being revived in some circles today.
Using a collodion mixture to coat a glass or metal plate, soaking that in a sensitizing silver bath, and then putting the sensitized glass in a light proof carrier, photographers could use these one off negatives most commonly with a view camera. Exposed wet plates had to be processed before they dried, whereas later dry plates offered photographers the benefit of not needing to bring their darkroom with them to their photo shoot.
Cyanotype
If you have ever seen a photograph that is blue, that is a Cyanotype. Cyanotypes uses iron instead of silver as its photosensitive material. Cyanotypes can be used for creating positives on paper from a negative or a photogram, and became a popular alternative to other chemically based photography because they did not require developing and were relatively simple to prepare. For a few years, in the early twentieth century, these processes were extremely popular among artists, amateurs, and even some professionals such as architects, hence the term “blue print”.
Gum Bichromate and Dichromate
Using carbon, pigments and sometimes other metals to capture and represent light, these images are often formed in layers. They are also capable of representing color. A very work intensive process, but considered to be one of the most stable forms of chemical image capture.
Platinum and Palladium
While running the risk of missing the point of experimental photography, which this article is about, these metals can be sensitized to light in a similar manner to silver. They are generally used in a process of mixing a liquid, applying it to paper, and then as with other processes used for photograms or positive contact prints from negatives. They do have a somewhat unique look, with incredible tonal ranges and inky blacks. They also have the potential to outlast silver gelatin by centuries. So, perhaps not in and of themselves experimental, certainly an interesting, if expensive option to consider.
Processing Techniques
In addition to using camera tricks and non standard film types, there are some techniques that require using a bit of chemistry that subverts or entirely bypasses the usual photographic process.
Film Soup
Film soup is a technique that involves taking your rolls of film, putting them in a soup of various chemicals, and then exposing and developing them normally. This is somewhat akin to the use of in camera light leaks, to produce unexpected artifacts on the film. Tea is one of the most common ways to get started. It can be done before or after exposure, however doing it after will more simply fit in to the development process, and not require re-spooling the film back in to its canister.
Cameraless
Cameraless photography is the process of removing your camera entirely from the act of taking a picture. Instead various techniques of directly working with film and paper can produce interesting and unique works.
Photograms
Photograms are images made by placing objects on film or photographic paper, and exposing them without a camera. Like a photography, photograms use light to make an image, but in many ways that is the end of the similarity. They often look a bit like x-rays, but by controlling translucence of the objects, and distance to the paper, interesting effects can be created.
Chemigram
Like photograms, chemigrams use the process of blocking light from hitting photo sensitive paper. Instead of physical objects however, chemigrams use liquid and semi liquid substances to “resist” the passing through of light. This leads to a much more abstract outcome than photograms.
Postprocessing Techniques
Photomontage
Photomontage is a style of photographic experimentation that relies on combining multiple images. Instead of in camera, like a double exposure, photo montage is created in the darkroom. This offers an unprecedented level of control, allowing the photographer to visualize the result as they work, rather than more or less hoping for the best.
Conclusion
This guide obviously just scratches the surface, but is hopefully a good jumping off point for exploring some options to bring real creativity to your photography.

I am a photographer, writer, entrepreneur, and programmer living in the great city of Chicago. I love to solve problems with technology and share what I have learned along the way.